Emulsion
Eleven presets that build the film look one layer at a time — and never overwrite your work.
Every preset I ever downloaded threw my work away
The routine was always the same. Get the white balance where I wanted it. Get the exposure right. Then click a preset and watch all of it disappear — because the preset had an exposure baked in, and a contrast, and a white balance, and it wrote every one of them over the top of mine.
So you undo, and you go looking for a different one, and that one does it too. After a while you stop bothering and just do everything by hand.
These are the ones I built for myself instead. Each does one job — the tone curve, or the colour, or the grain — and nothing else. Get your own base right first, then stack whichever ones you want on top.
They're free because this site isn't selling anything. If they're useful, use them.
What they will never touch
- White Balance
- Temperature
- Tint
- Exposure
- Contrast
- Highlights
- Shadows
- Whites
- Blacks
- Vibrance
- Saturation
- Sharpening
- Camera profile
- Lens corrections
- Crop
- Masks
Set those however you like, before or after. Auto or by hand. They'll survive.
Pick one from each number
Same number means same job — pick at most one. Different numbers stack, and the order doesn't matter.
Or click 00 Full Look for the days you don't want to think about it. It's the whole Kodak chain in one go, and it still leaves your exposure and white balance alone.
Everything here works with Lightroom's Amount slider too, so you can dial any of them from 0 to 200%.
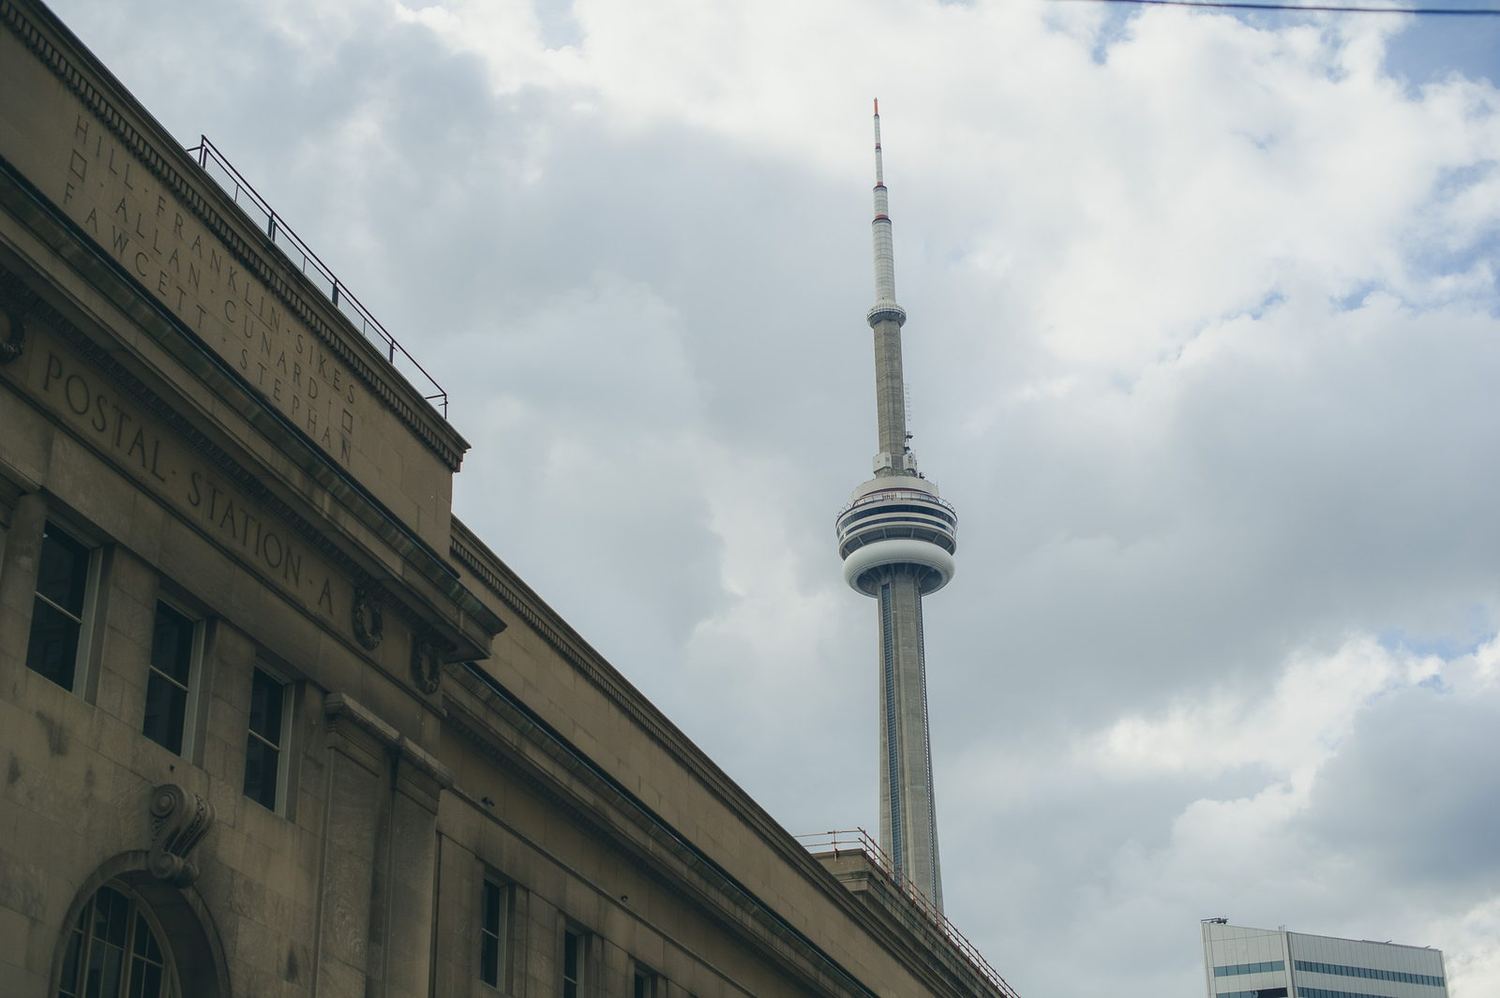
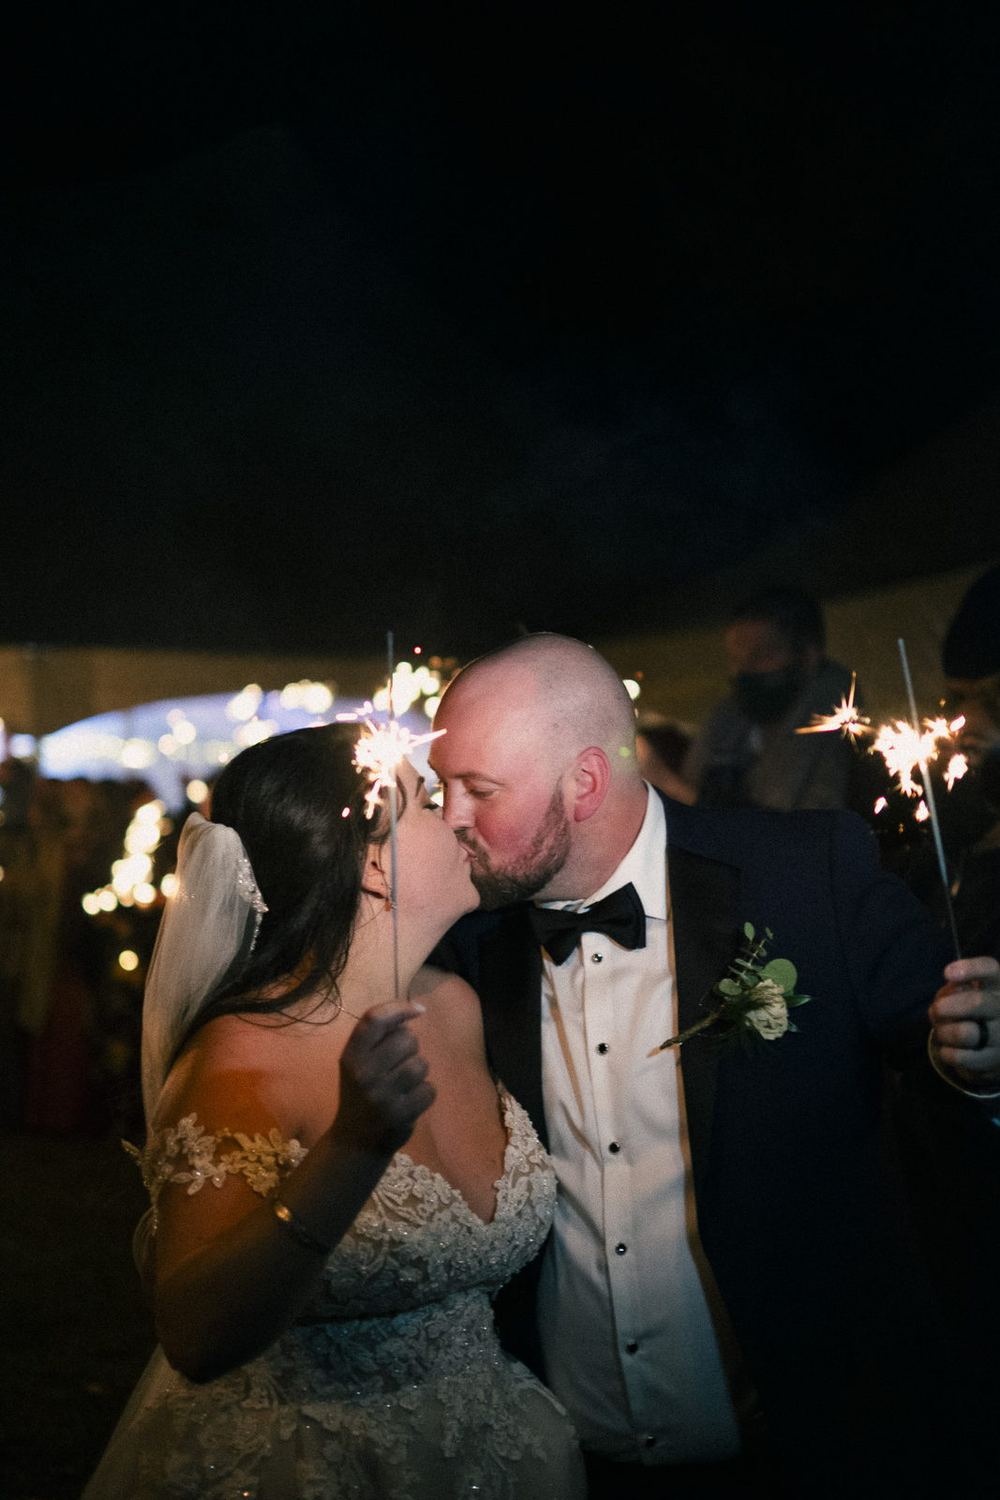
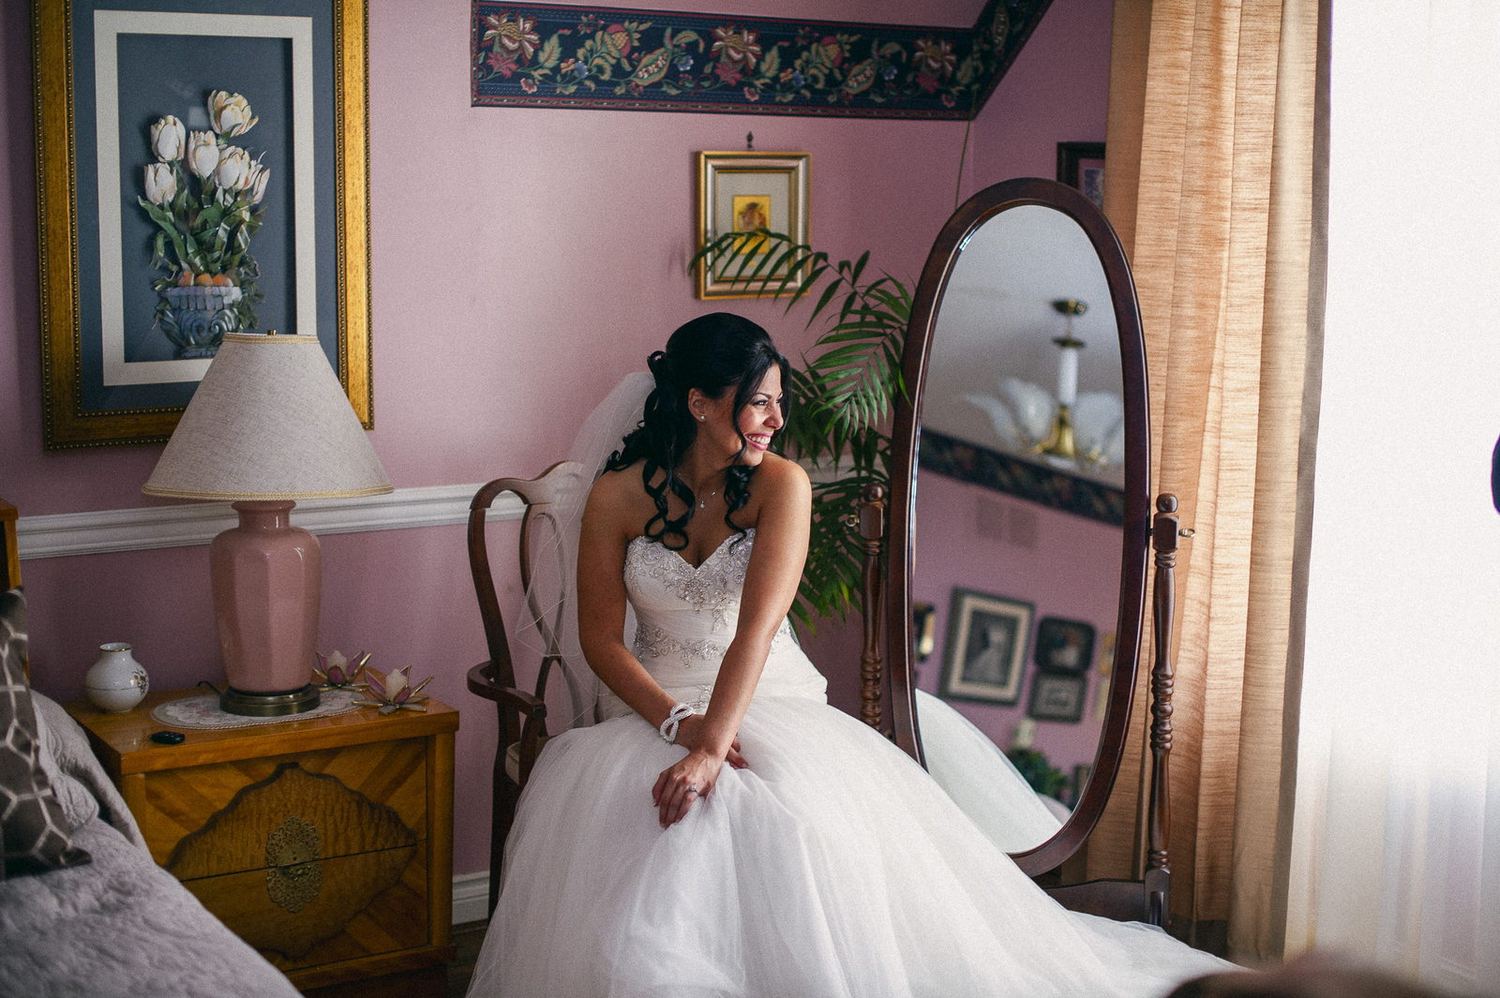
Shot and edited with these
My own work, straight out of this pack.
Four combinations worth trying
Everyday Kodak
Warm, forgiving, good skin. This is what 00 Full Look bakes in.
Light & airy
Lifted blacks, mint greens, softer contrast. Outdoor portraits.
Night / tungsten
Warm bleed in the highlights, coarser grain.
If you only use two
Crossover and grain carry more of it than the curve does.
What each one does
There are two extras in a second folder — 07a and 07b, Calibration. That panel only exists in Lightroom Classic, so install that folder only if you're on Classic. On mobile or desktop they'll just show up greyed out.
Three minutes, depending on where you edit
Lightroom Classic
Develop → Presets panel → the + button → Import Presets.
Lightroom desktop (cloud)
File → Import Profiles & Presets → select the zip.
Lightroom mobile
Open a photo → Edit → Presets → tap Yours → three-dot menu → Import Presets.
Newer iPhone builds take the zip straight; older ones want the loose .xmp files, which is why both are in the download. No paid plan needed.
Emulsion is one of five
The packs come in two families. Stock packs emulate a film; Light packs handle a lighting condition. They're all built the same way, so you pick a light and a stock and they stack.
Black and white, tuned for faces.
Night, tungsten and twilight, with the proper masked halation this pack couldn't do.
Slide film — Kodachrome, Velvia, Provia and Astia. The one pack where blowing the highlights is correct.
Open shade, and sun and shade in one frame. A correction rather than a look — it goes underneath any of the others.
These are a first pass
If something doesn't work — a preset that's too heavy, one that's missing, a film stock you want — say so. This pack has already been through a few versions because things kept turning up on real photos that never showed up in testing.
And if you make something with them, post it. I'd like to see what they do on someone else's pictures.
Use them on anything
Personal work, client work, prints, commercial jobs — all fine, no attribution needed, though it's always nice. Just please don't resell the files, put them in a paid bundle, or re-host the download somewhere else. Link back here instead so people get the current version. Provided as-is; every photo you make with them is entirely yours.