Silver
Black and white, tuned for faces. Seven filters, three film curves, and grain.
Lightroom's black & white is hard on skin
The default conversion leans almost entirely on the green channel — and green is where blemishes, redness and veins show up strongest. The smooth, even part of skin lives in the red, which the default mostly throws away.
It's doing to a face exactly what a green filter does, which is the one filter every portrait guide tells you not to use. That's the whole reason this pack exists.
Two clicks
Set your white balance and exposure first — white balance still matters here, because the conversion reads the colours underneath.
Then click 01 Mono, which just flips the photo to black and white. Then pick one filter from 02. That's the decision that matters. Curves and grain are optional on top.
01 Mono is the one preset with no Amount slider — there's no halfway between colour and black and white. Everything else scales from 0 to 200%.
Which filter
Start with Yellow. Go warmer for smoother skin, cooler for more texture.
One thing worth knowing: red and orange bring different complexions closer together, green and blue push them further apart. All of these hold darker skin properly except Ortho, which drives it down hard — so that one wants a deliberate exposure decision rather than a click.
Shot and edited with these
My own work, straight out of this pack.
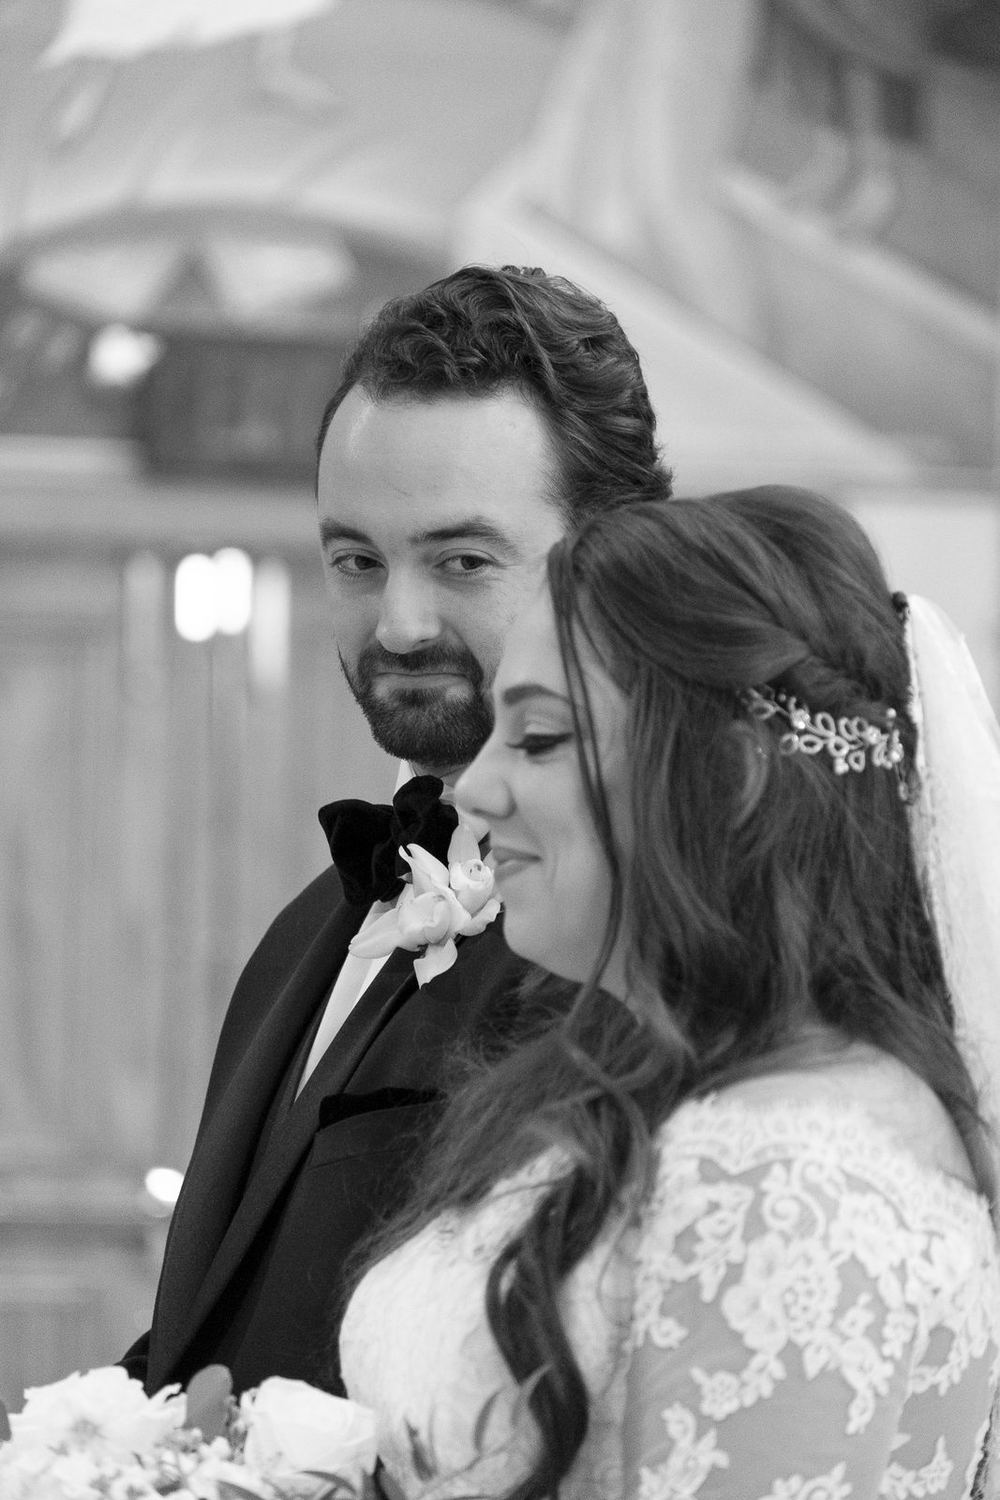
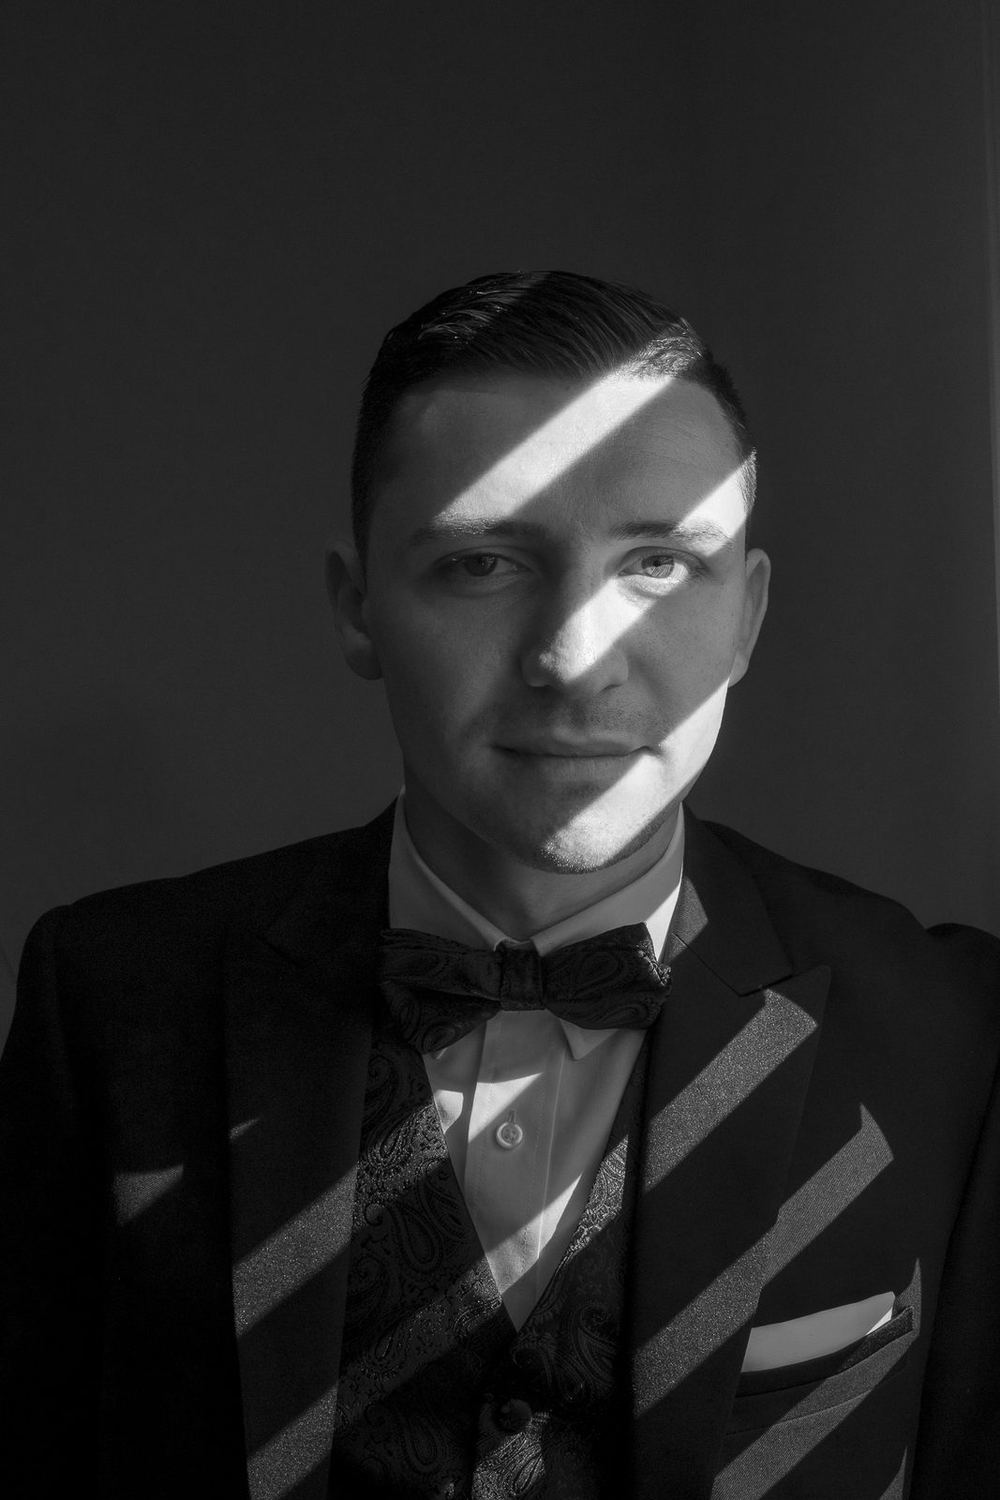
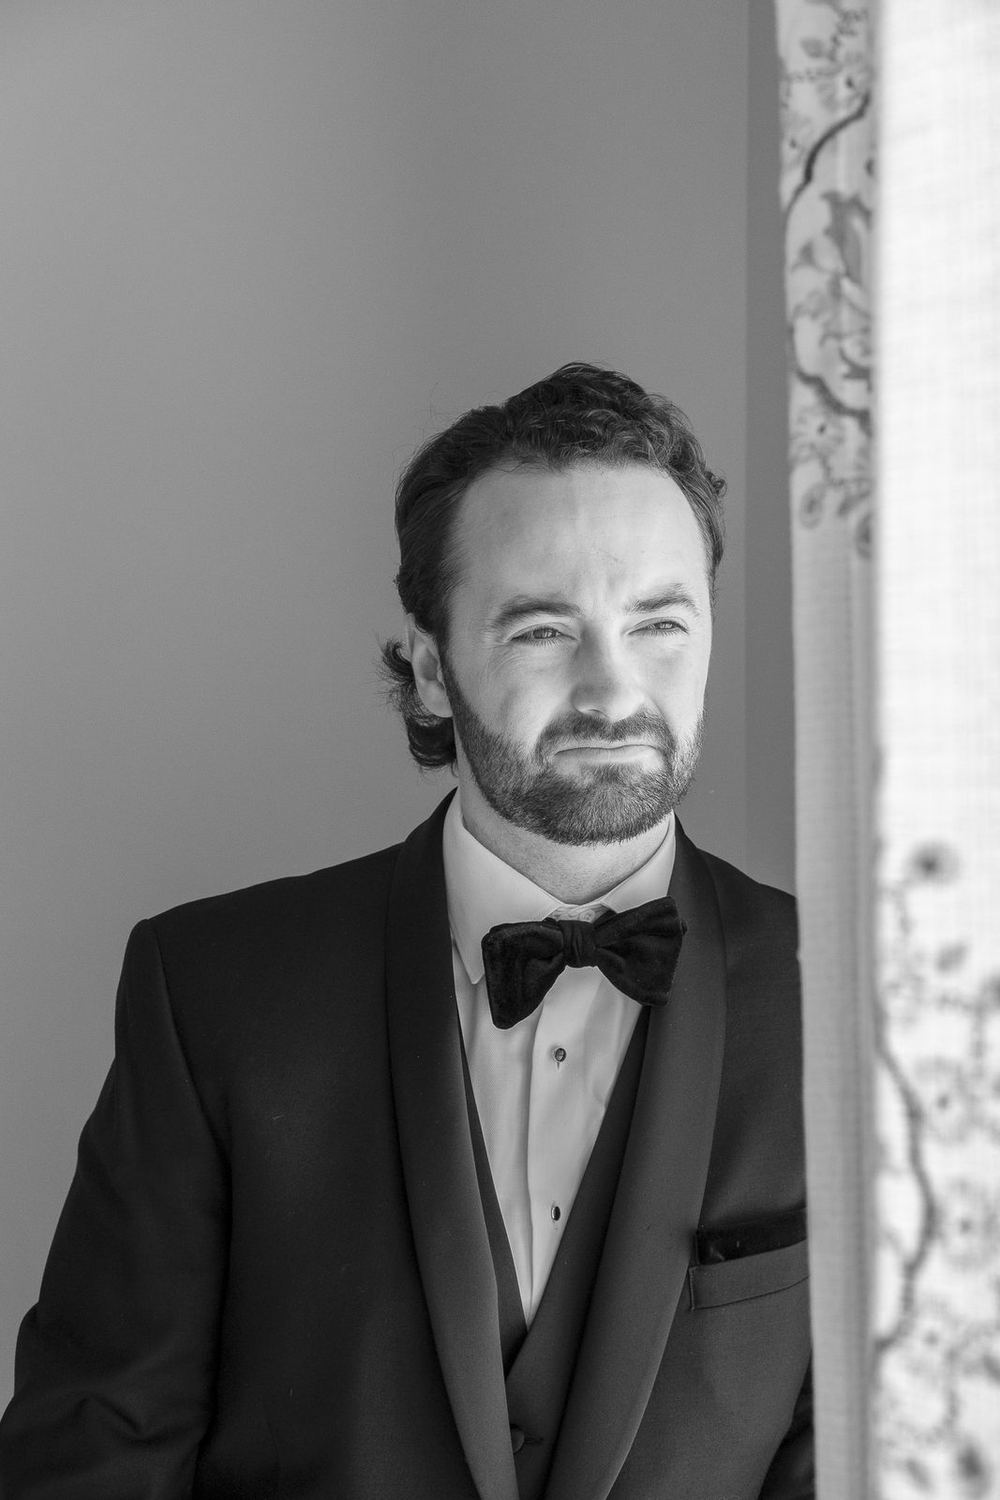
Curves and grain
None of these curves is an S. An S-curve steepens exactly where skin sits, which makes every blotch and beard shadow louder while flattening the highlights that carry the shape of a face. These build their contrast above and below skin instead.
Silver with Emulsion and Nightfall
Silver mostly doesn't mix with the others, since it removes the colour they work on. Where it does overlap — the curves and the grain — whichever you click last wins.
Silver deliberately leaves Colour Grading alone, so if you tone your black and whites, your toning survives everything here.
Same as the last one
Lightroom Classic
Develop → Presets panel → the + button → Import Presets.
Lightroom desktop
File → Import Profiles & Presets → select the zip.
Lightroom mobile
Open a photo → Edit → Presets → tap Yours → three-dot menu → Import Presets.
Use them on anything
Personal work, client work, prints, commercial jobs — all fine, no attribution needed, though it's always nice. Just please don't resell the files, put them in a paid bundle, or re-host the download somewhere else. Link back here instead so people get the current version. Provided as-is; every photo you make with them is entirely yours.